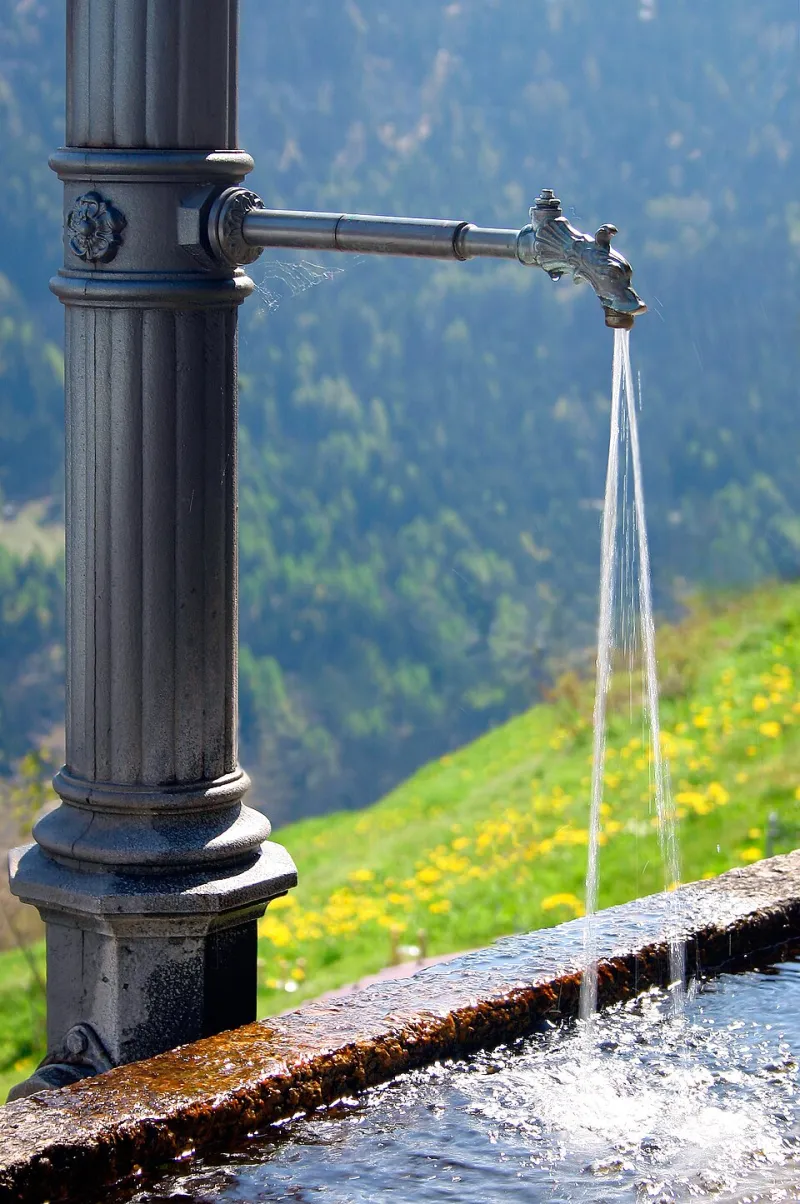
Pixels and Currents: Your Complete Beginner's Guide to Making Digital Water Art That Moves
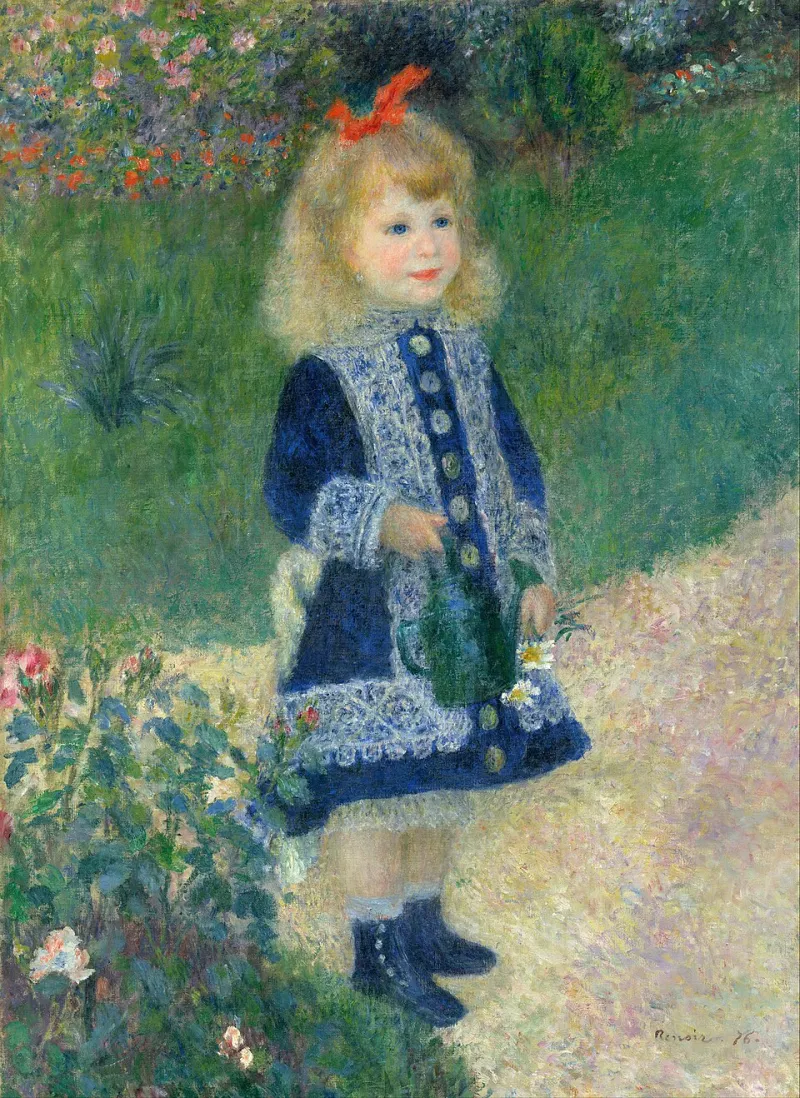
Photo: Pierre-Auguste Renoir, Public domain, via Wikimedia Commons
Water has always been among the most demanding subjects for any visual artist. Its surface catches light differently every second. Its movement defies easy description. Its color shifts with depth, weather, and the sky above. For centuries, painters and photographers labored to capture even a fragment of its character. Today, digital tools have opened an entirely new set of possibilities — not merely to represent water, but to animate it, abstract it, and transform it into something that could not exist in the physical world at all.
This guide is designed for creators at every level of experience. Whether you are working on a laptop in a Denver apartment or at a professional workstation in a Los Angeles design studio, the principles and tools outlined here will help you move from inspiration to finished digital water art with confidence.
Step 1: Understand What Makes Water Visually Compelling
Before opening any software, spend time simply observing water in as many forms as you can access. Visit a local river, lake, or coastline if possible. Study the way light refracts through a glass of water on a sunny windowsill. Watch footage of ocean swells, rain on glass, and the slow curl of a stream around a stone.
What you are training yourself to notice are the core visual properties that make water recognizable and emotionally resonant: reflectivity, translucency, surface tension, turbulence patterns, and color temperature variation. Great digital water art does not need to reproduce all of these properties literally — but it should engage with at least one of them in a meaningful way. Knowing what you are working with conceptually will make every technical decision more intentional.
Step 2: Choose Your Software Based on Your Goals
The digital tools available for water art fall into several broad categories, each suited to different creative intentions.
For still digital illustration and photo manipulation:
- Adobe Photoshop remains the industry standard for layered water effects, color grading of water photography, and the creation of surreal aquatic composites. Its liquify and displacement map tools are particularly powerful for suggesting fluid movement in static images.
- Affinity Photo (available for a one-time purchase, making it highly accessible) offers comparable functionality at a fraction of the ongoing cost and has become a favorite among independent creators.
- Procreate on iPad is an outstanding option for painters who want to work with digital watercolor and fluid brush dynamics in an intuitive, gesture-based environment.
For motion graphics and animation:
- Adobe After Effects is the professional standard for fluid motion graphics, particle simulations, and animated water effects. Its integration with Photoshop and Illustrator makes it a natural choice for creators already working within the Adobe ecosystem.
- DaVinci Resolve (free version available) includes a powerful Fusion compositing module capable of generating convincing water simulations and is widely used by independent filmmakers and motion designers.
- Cavalry is a newer, increasingly popular motion graphics application with excellent procedural animation tools well-suited to organic, fluid movement.
For 3D water simulation:
- Blender is a free, open-source 3D suite with a robust fluid simulation system. Its learning curve is steeper than the above options, but the results — particularly for animated water surfaces, underwater scenes, and abstract fluid sculptures — can be extraordinary.
Step 3: Work With Water Photography as Your Raw Material
One of the most accessible entry points into digital water art is transforming your own water photography. You do not need professional camera equipment to begin. A smartphone camera can capture compelling source material, particularly in the following conditions:
- Golden hour light on still water — produces rich reflective surfaces ideal for color manipulation
- Long-exposure rain or moving streams — many modern smartphones support long-exposure modes or have dedicated apps (such as Slow Shutter Cam for iOS) that create silky motion blur effects in camera
- Close-up surface tension shots — water droplets, ripple rings, and the meniscus of a glass all offer abstract compositional possibilities
- Urban puddles and reflections — particularly rich for surreal composite work, as they already contain mirror-world imagery
Once you have your source photographs, experiment with displacement maps in Photoshop or Affinity Photo to introduce subtle wave-like distortion. Apply color grading to shift your water imagery toward more expressive palettes — deep teals, bioluminescent blues, or the amber warmth of a flooded autumn forest. The goal is not strict realism but emotional specificity.
Step 4: Create Your First Animated Water Loop
A seamless looping animation is one of the most satisfying and versatile pieces of digital water art you can produce. It can be shared as a GIF, an MP4, or a video background, and the process is more approachable than many beginners expect.
Basic method using After Effects or DaVinci Resolve Fusion:
- Import a still water photograph or a short water video clip as your base layer.
- Apply a displacement map effect using a slowly animated noise texture (Perlin noise or fractal noise are excellent choices). This creates the appearance of gentle surface movement across your still image.
- Adjust the speed, scale, and direction of the noise animation to match the type of water you are suggesting — slow and undulating for a calm lake, faster and more chaotic for a rapids scene.
- To create a seamless loop, set your noise animation to cycle over an even number of frames and use the "loop expression" function in After Effects (
loopOut("cycle")) to ensure the motion repeats without a visible seam. - Export as an H.264 MP4 or an optimized GIF depending on your intended platform.
Artist Priya Nandakumar, an independent motion designer based in Austin, Texas, built her entire Instagram following around exactly this technique. "I started with nothing but my phone photos from Barton Springs and a free trial of After Effects," she notes. "The displacement map loop is the first thing I teach anyone who asks me how I got started."
Step 5: Explore Generative and AI-Assisted Water Art
For creators interested in pushing further into experimental territory, generative tools offer remarkable possibilities. Platforms such as Adobe Firefly, Midjourney, and Stable Diffusion can produce highly detailed water imagery from text prompts, which can then be animated, composited, or used as reference material for original work.
More technically adventurous creators have begun using Processing (a free, Java-based creative coding environment) and TouchDesigner to build real-time generative water simulations — programs that produce endlessly varied fluid visuals that respond to data inputs, music, or even live weather feeds. Several independent artists in the US are currently exhibiting this kind of work at digital art festivals and online galleries, demonstrating that generative water art occupies a genuinely serious place in contemporary creative practice.
Step 6: Share Your Work With Intent
Digital water art finds its most receptive audiences on visually driven platforms: Instagram, Behance, and the growing community of creators on Are.na and Dribbble. When sharing, consider the context you provide. Audiences respond strongly to work that connects visual beauty to meaning — and water, in the current cultural moment, carries enormous associative weight around environmental consciousness, climate change, and ecological fragility.
You need not be didactic. A single, well-crafted animated loop of a drought-cracked lakebed or a rain-soaked city street can communicate volumes without a word of explanation. Let the water speak.
The current is already moving. All you need to do is step in.